IDS stands for Intrusion Detection System and IPS stands
for Intrusion Prevention System. IDS and IPS work on the
same principle. They analyze packets that are coming from the outside network
based on some set of rules from the known cyberattacks database. IDS/IPS both
analyze the signature of the packets from the know cyberattack
database.
The difference between IDS/IPS is that IDS only detects the incoming
attack and alerts the administrator to take action against the attack
while the IPS not only detects but also stops the packet from being
delivered based on sets of rules.
Both IDS/IPS are kind of similar in the process as an antivirus which compares
the signature of the application with the list of all malicious signatures
that are stored in it. Most often IDS is deployed behind the firewall on the
edge of the network whereas IPS will generally be placed at an edge of the
network such as immediately inside an Internet Firewall. IPS requires more
computational power for performing network prevention and detection.
One most used IDS/IPS is SNORT. Snort is an open-source network intrusion detection system and intrusion
prevention system.
Installation
Firstly, we need to make sure the OpenSSH
server is installed on ubuntu which is by default installed but in case it is
not installed you can install it using the command
apt-get install openssh-server.
-
Snort is available in the ubuntu package. To install, use the command,
apt-get install snort*.
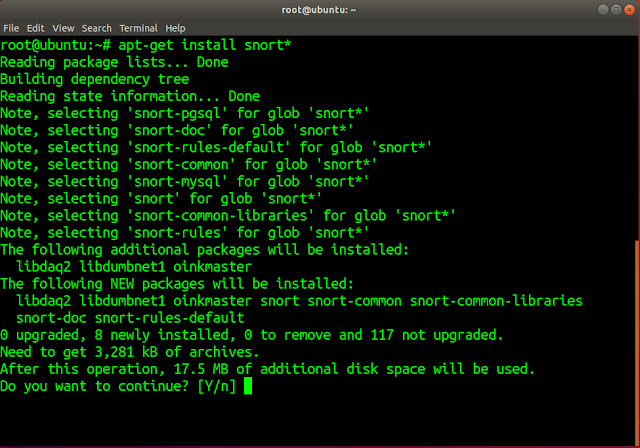
|
|
SNORT installation command
|
-
Meanwhile, you will get a pop-up asking on which interface you want to
configure the SNORT. This will set up the network with its CIDR.

|
|
Set up Interface
|
Your interface name will be
different. Run
ifconfig or
ip a to check the name
of the interface.
With these two simple steps, SNORT will be installed. Some files will be
created in /etc/snort/ which is
used to set up the SNORT application as IDS.
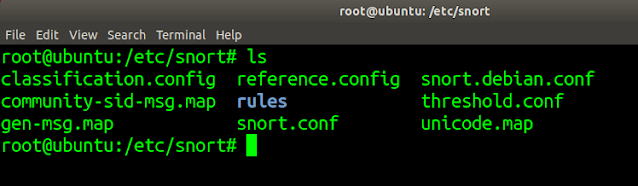
|
|
SNORT files location
|
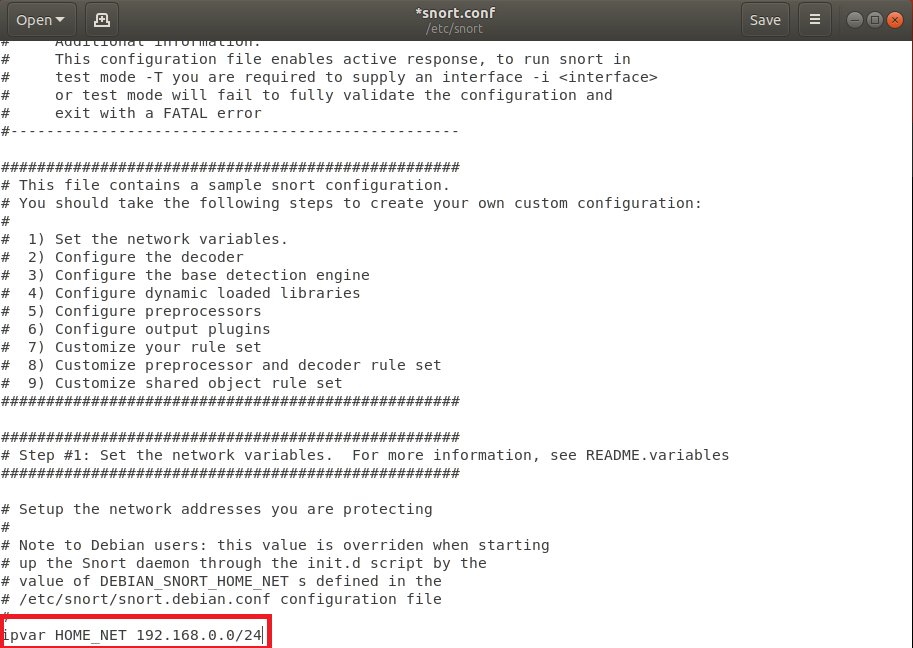
Configuring SNORT as IDS:


%20Cover.jpg)


No comments:
Post a Comment